Playing With Jekyll
Jekyll feels like a great place to start, again. Ruby and RubyGems is familiar, I’ve gotten the hang of switching between Ruby environments with rbenv, and I like the idea of packaging Jekyll themes in a RubyGem. With Jekyll we can also style with SCSS, write posts in markdown (kramdown), and do kinda-dynamic stuff using HTML with Liquid—sweet.
Jekyll’s site tutorial has many useful components built in that we’re going to keep. The blog component is very simple, and since we’re going to be writing, that stays over. There’s no staff and separate blog page on this site, So we’re going to remove the ‘authors’ collection and the whole ‘collection’ functionality until it is needed. The blog component can be easily migrated to the home page by getting familiar with Liquid’s Syntax. Liquid makes our posts available as static html pages that we can cycle through a format with HTML.
<ul id="blog-list">
{% for post in site.posts %}
  <li>
    <h2><a href="{{ post.url }}">{{ post.title }}</a></h2>
    <p class="date">{{ post.date | date: "%m/%d/%Y" }}</p>
    {{ post.excerpt }}
    <p class="read-more"><a href="{{ post.url }}">Read More</a></p>
  </li>
{% endfor %}
</ul>
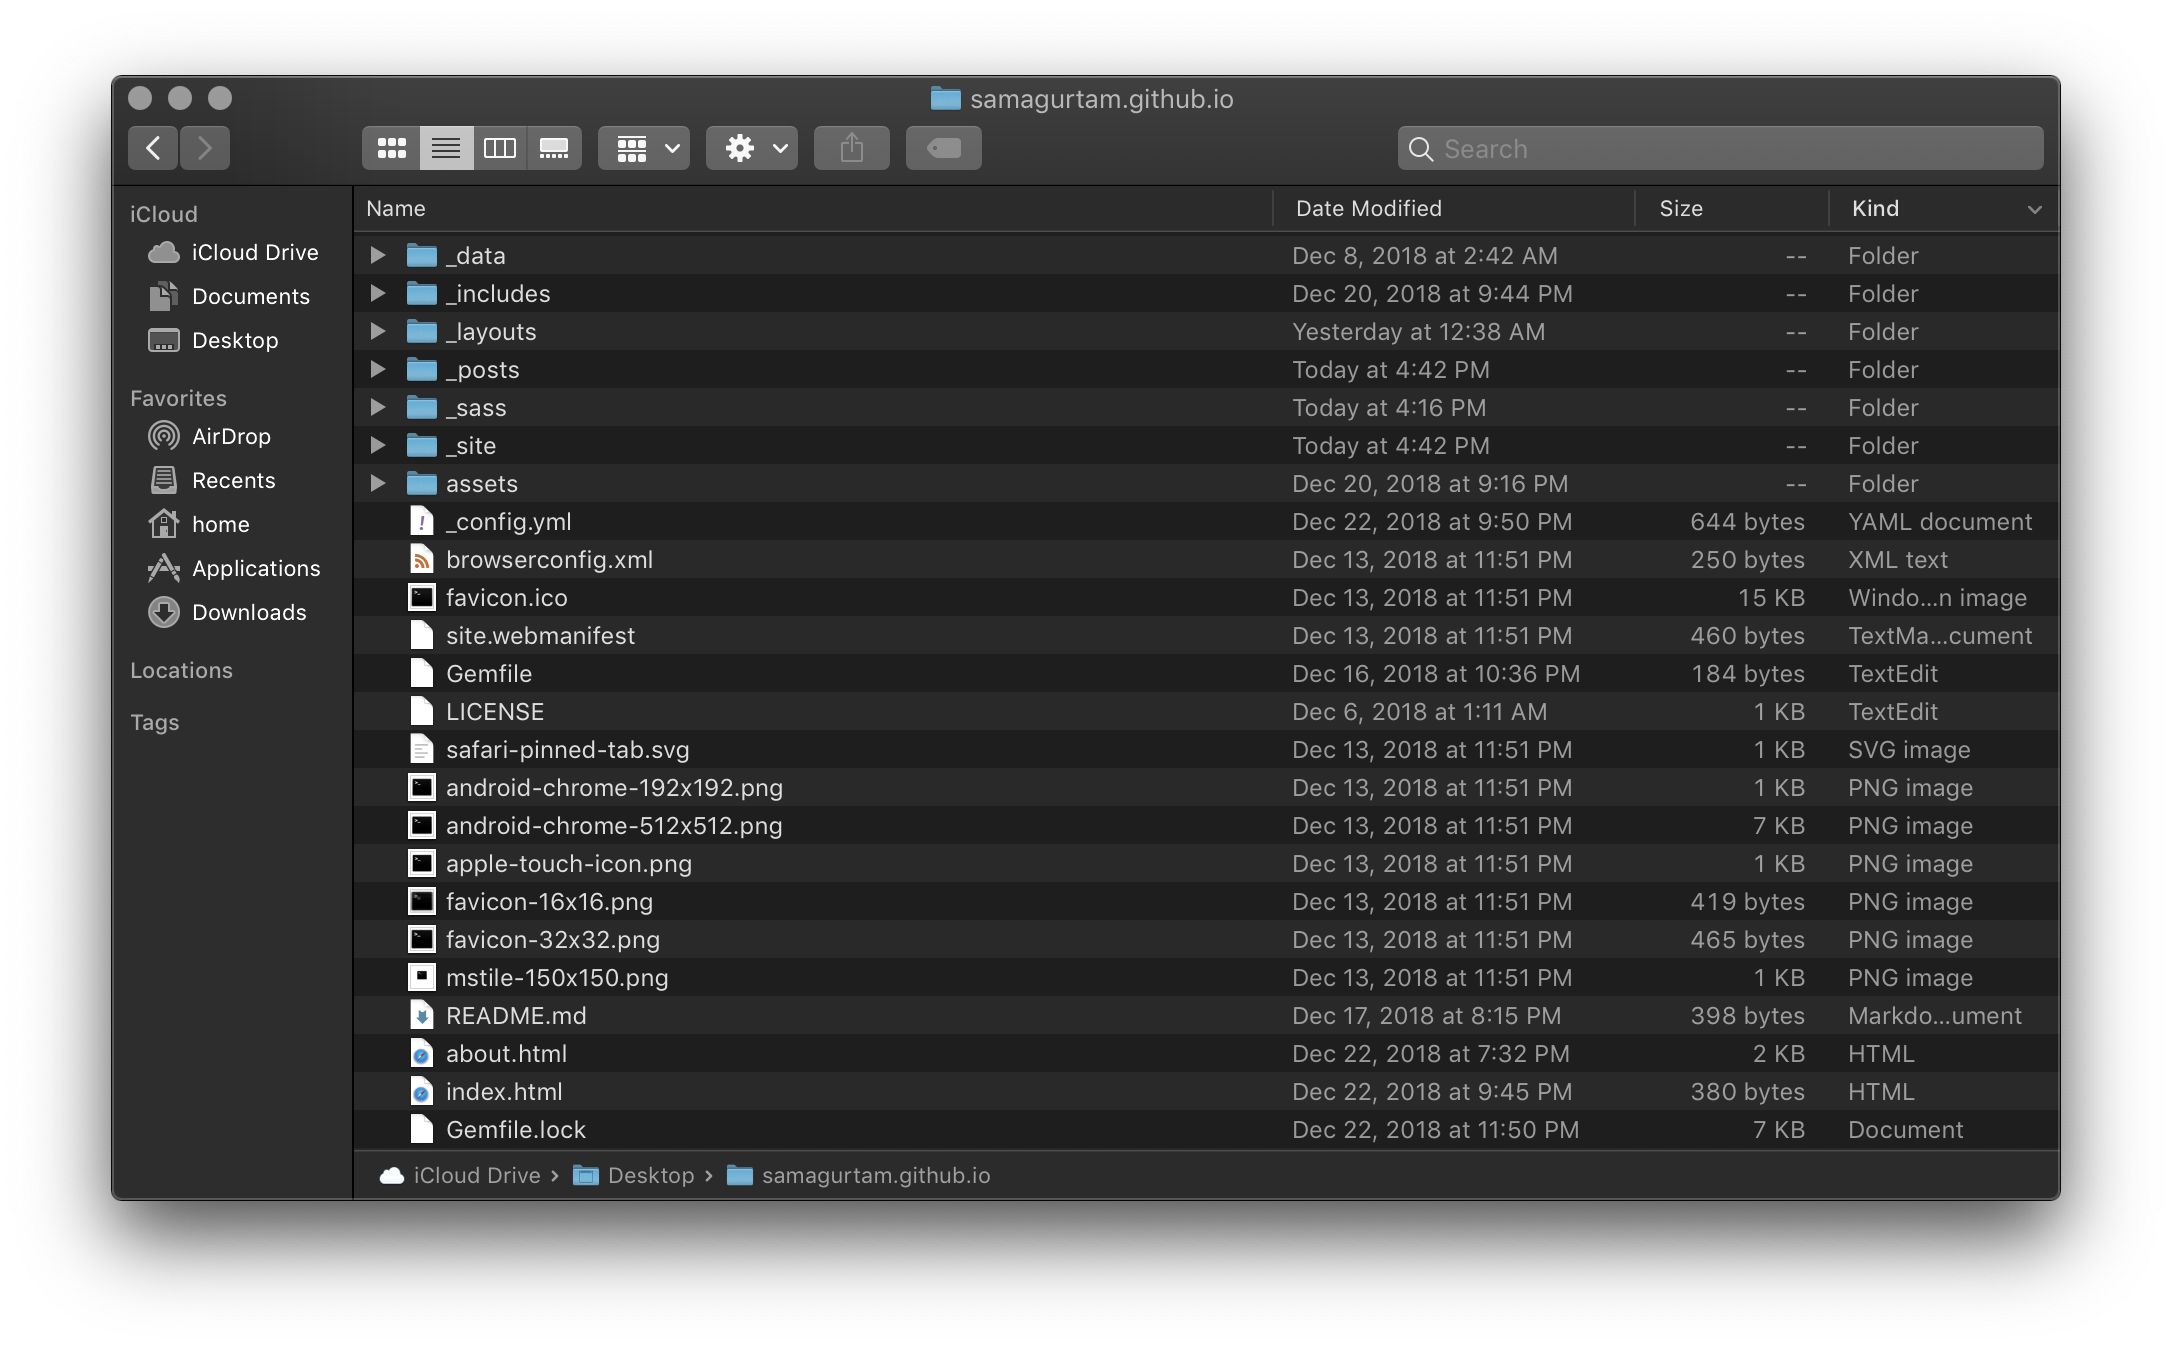
I’m also going to set up a base layout that all other layouts are derived from in our _layouts folder. Our index layout inherits from this, as well as our post layout. I set up a favicon package to support a wide-range of devices and put the package in it’s own file in the _include folder. With includes, we can use Liquid to link to them from our layouts. In this case all my includes are for all the pages, and will be placed in the base layout that all are derived from.
<head>
  <meta charset="utf-8" />
  <meta http-equiv="X-UA-Compatible" content="IE=edge" />
  <meta name="viewport" content="width=device-width, initial-scale=1" />
  <link rel="stylesheet" href="/assets/css/styles.css" />
  {% include faviconpackage.html %}
  {% feed_meta %}
  {% seo %}
</head>
<body>
  {% include navigation.html %}
  {{ content }}
  <footer>
    <p>Made with ❤️.</p>
  </footer>
</body>
The navigation set up is also in an include. I used Necolas’ reset and started with plain HTML/CSS. I built up my own SCSS in main.scss and imported main.scss and reset.scss into styles.scss, which is where the base layout links to the stylsheet.
nav {
  box-shadow: 0 1px 0 $basecomp;
  ul {
    display: flex;
    flex-flow: row nowrap;
    justify-content: flex-start;
    margin: 0 auto;
    li {
      a {
        position: relative;
        display: block;
        padding: 15px 5px;
        margin: 0 5px auto;

        text-transform: uppercase;
        text-decoration: none;
        font-weight: 900;
        &:hover {
          background-color: transparent;
        }
        &.current {
          color: $highlight;
          box-shadow: 0px 1px 0px $highlight;
        }
        &.not-current {
          color: $inactive;
          &:hover {
            color: $basecomp;
            &:after {
              width: 100%;
            }
          }
          &:after {
            position: absolute;
            bottom: -1px;
            left: 0;
            right: 0;
            margin: auto;
            width: 0%;
            content: '.';
            color: transparent;
            background: $highlight;
            height: 1px;
          }
        }
      }
    }
  }
}
I’m using a navigation bar style that I forked from user shahjehan over on CodePen. I took the animation he was using in one of the nav styles and modified it to match the barebones minimal style I wanted to approach for the site. I also needed something simple that I could style and scale gracefully to smaller viewports. Much of this project turned out to be learning CSS, SCSS and how they work. Jekyll made the site building process much simpler such that I only really needed to focus on that.
We’re hosting on Github Pages because a) it’s free, and b) works well with Jekyll. Pros and cons of course, one being that Github Pages has a whitelist on dependencies/plugins such that we are forced to use Jekyll 3.7.4 along with other not quite up-to-date wares (With Jekyll we need to use the bundle exec command as a prefix before any jekyll commands if we’re running a newer Jekyll than the one GitHub currently has whitelisted). A pro on the other hand is that we don’t build! We push our commits over to our remote repo on GitHub and they build our site and serve, meaning we can add _site directory to our .gitignore. We can start this process by using GitHub’s web interface to create a new repo titled <username>.github.io and pushing our updates to the master branch of this new repo.
That’s basically it. There’s a lot of little details that I think I’ll make another post about if necessary, but this is the gist of the current setup. Until next time…